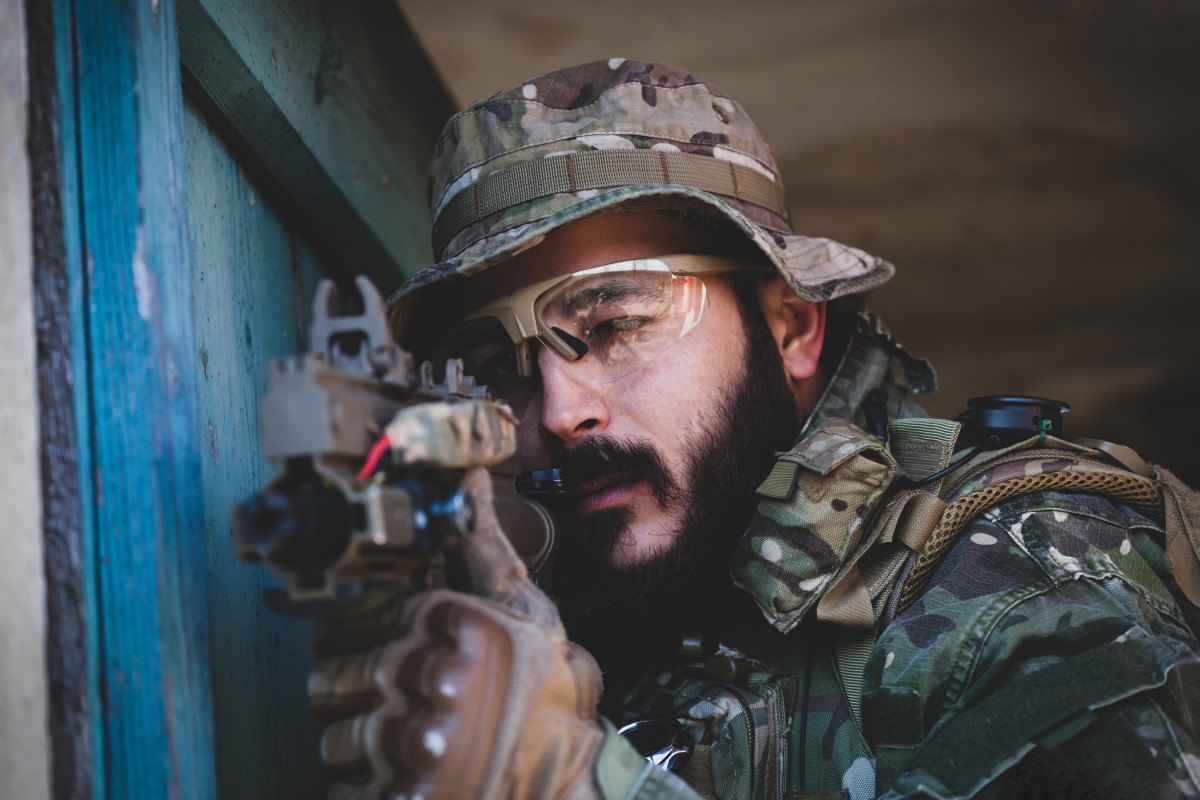
The thrill of airsoft sniping can be greatly enhanced by properly adjusting a riflescope on your favorite airsoft sniper rifle. By perfecting these adjustments, you’ll improve your accuracy and range in the game.
Components of your Riflescope
Each riflescope comes with multiple components that serve specific purposes and interact with one another, contributing to the overall performance of the scope:
- Main Tube: This is the body of the riflescope; it provides a house for the internal lenses. Main tubes are typically constructed from a single piece of aluminum to ensure rigidity and durability.
- Objective Lens: Located at the front end of the riflescope, the objective lens gathers light and projects an image onto the reticle or crosshair within the scope.
- Eyepiece: The eyepiece is the part of the riflescope through which you look. It features an adjustable focus ring, allowing you to get a clear sight picture tailored to your eye.
- Windage and Elevation Turrets: These turrets are used to adjust the horizontal (windage) and vertical (elevation) positioning of the reticle in relation to the target. They generally have clearly marked increments for precise adjustments.
- Power Ring: If your riflescope has variable magnification, the power ring allows you to change the level of magnification to suit different shooting scenarios.
Mounting Your Riflescope
To do this, you’ll need a set of compatible scope rings and a reliable airsoft sniper rifle with an appropriate rail system for attaching the scope. Follow these step-by-step instructions:
- Position your sniper rifle on a stable surface, such as a bipod or a shooting rest.
- Loosen the screws holding the scope rings together and separate the top half from the bottom half.
- Place the bottom half of each ring onto your sniper rifle’s rail system, securing them in the desired position. Ensure that they are properly spaced to accommodate your riflescope without any overhang or excess pressure.
- Place your riflescope within the bottom half of the rings, ensuring that it remains both straight and parallel to the rifle.
- Gently replace the top halves of the scope rings, tightening the screws evenly until the riflescope is held securely in place.
Field Adjustments for Maximum Accuracy
The following steps should guide you through the procedure:
- Bore Sighting: This preliminary adjustment aligns the center of the bore with the riflescope’s reticle. To begin, remove your airsoft sniper rifle’s bolt or magazine. Position the rifle in a steady rest, aim at a target around 20-30 feet away, and center the target within the bore. Once aligned, look through your riflescope without disturbing the rifle’s position and note where the reticle appears in relation to the target.
- Adjusting Eyepiece Focus: To calibrate the focus for your eye, point the scope at a featureless or single-color surface (such as a wall or sky) with adequate light. Look away momentarily to reset your eyes, then quickly shift your gaze back to the reticle. The reticle should appear instantly sharp and clear; if not, adjust the eyepiece until it does.
- Dialing In Zero: The most critical adjustment involves zeroing your riflescope, ensuring that shots accurately hit the intended target under field conditions. Following a proper bore sighting, fire a series of three-shot groups on paper targets at a known distance. Examine the target to determine any discrepancies between the point-of-aim and point-of-impact. Using the windage and elevation adjustments accordingly, shift the reticle to match the point-of-impact based on groupings.
- Magnification Settings: If your riflescope features variable magnification, experiment with different power levels to find the optimal setting for various distances and situations. Balance higher magnification settings, which offer greater detail and precision, with lower magnifications designed to provide a wider field of view and quicker target acquisition.
Leave a Reply