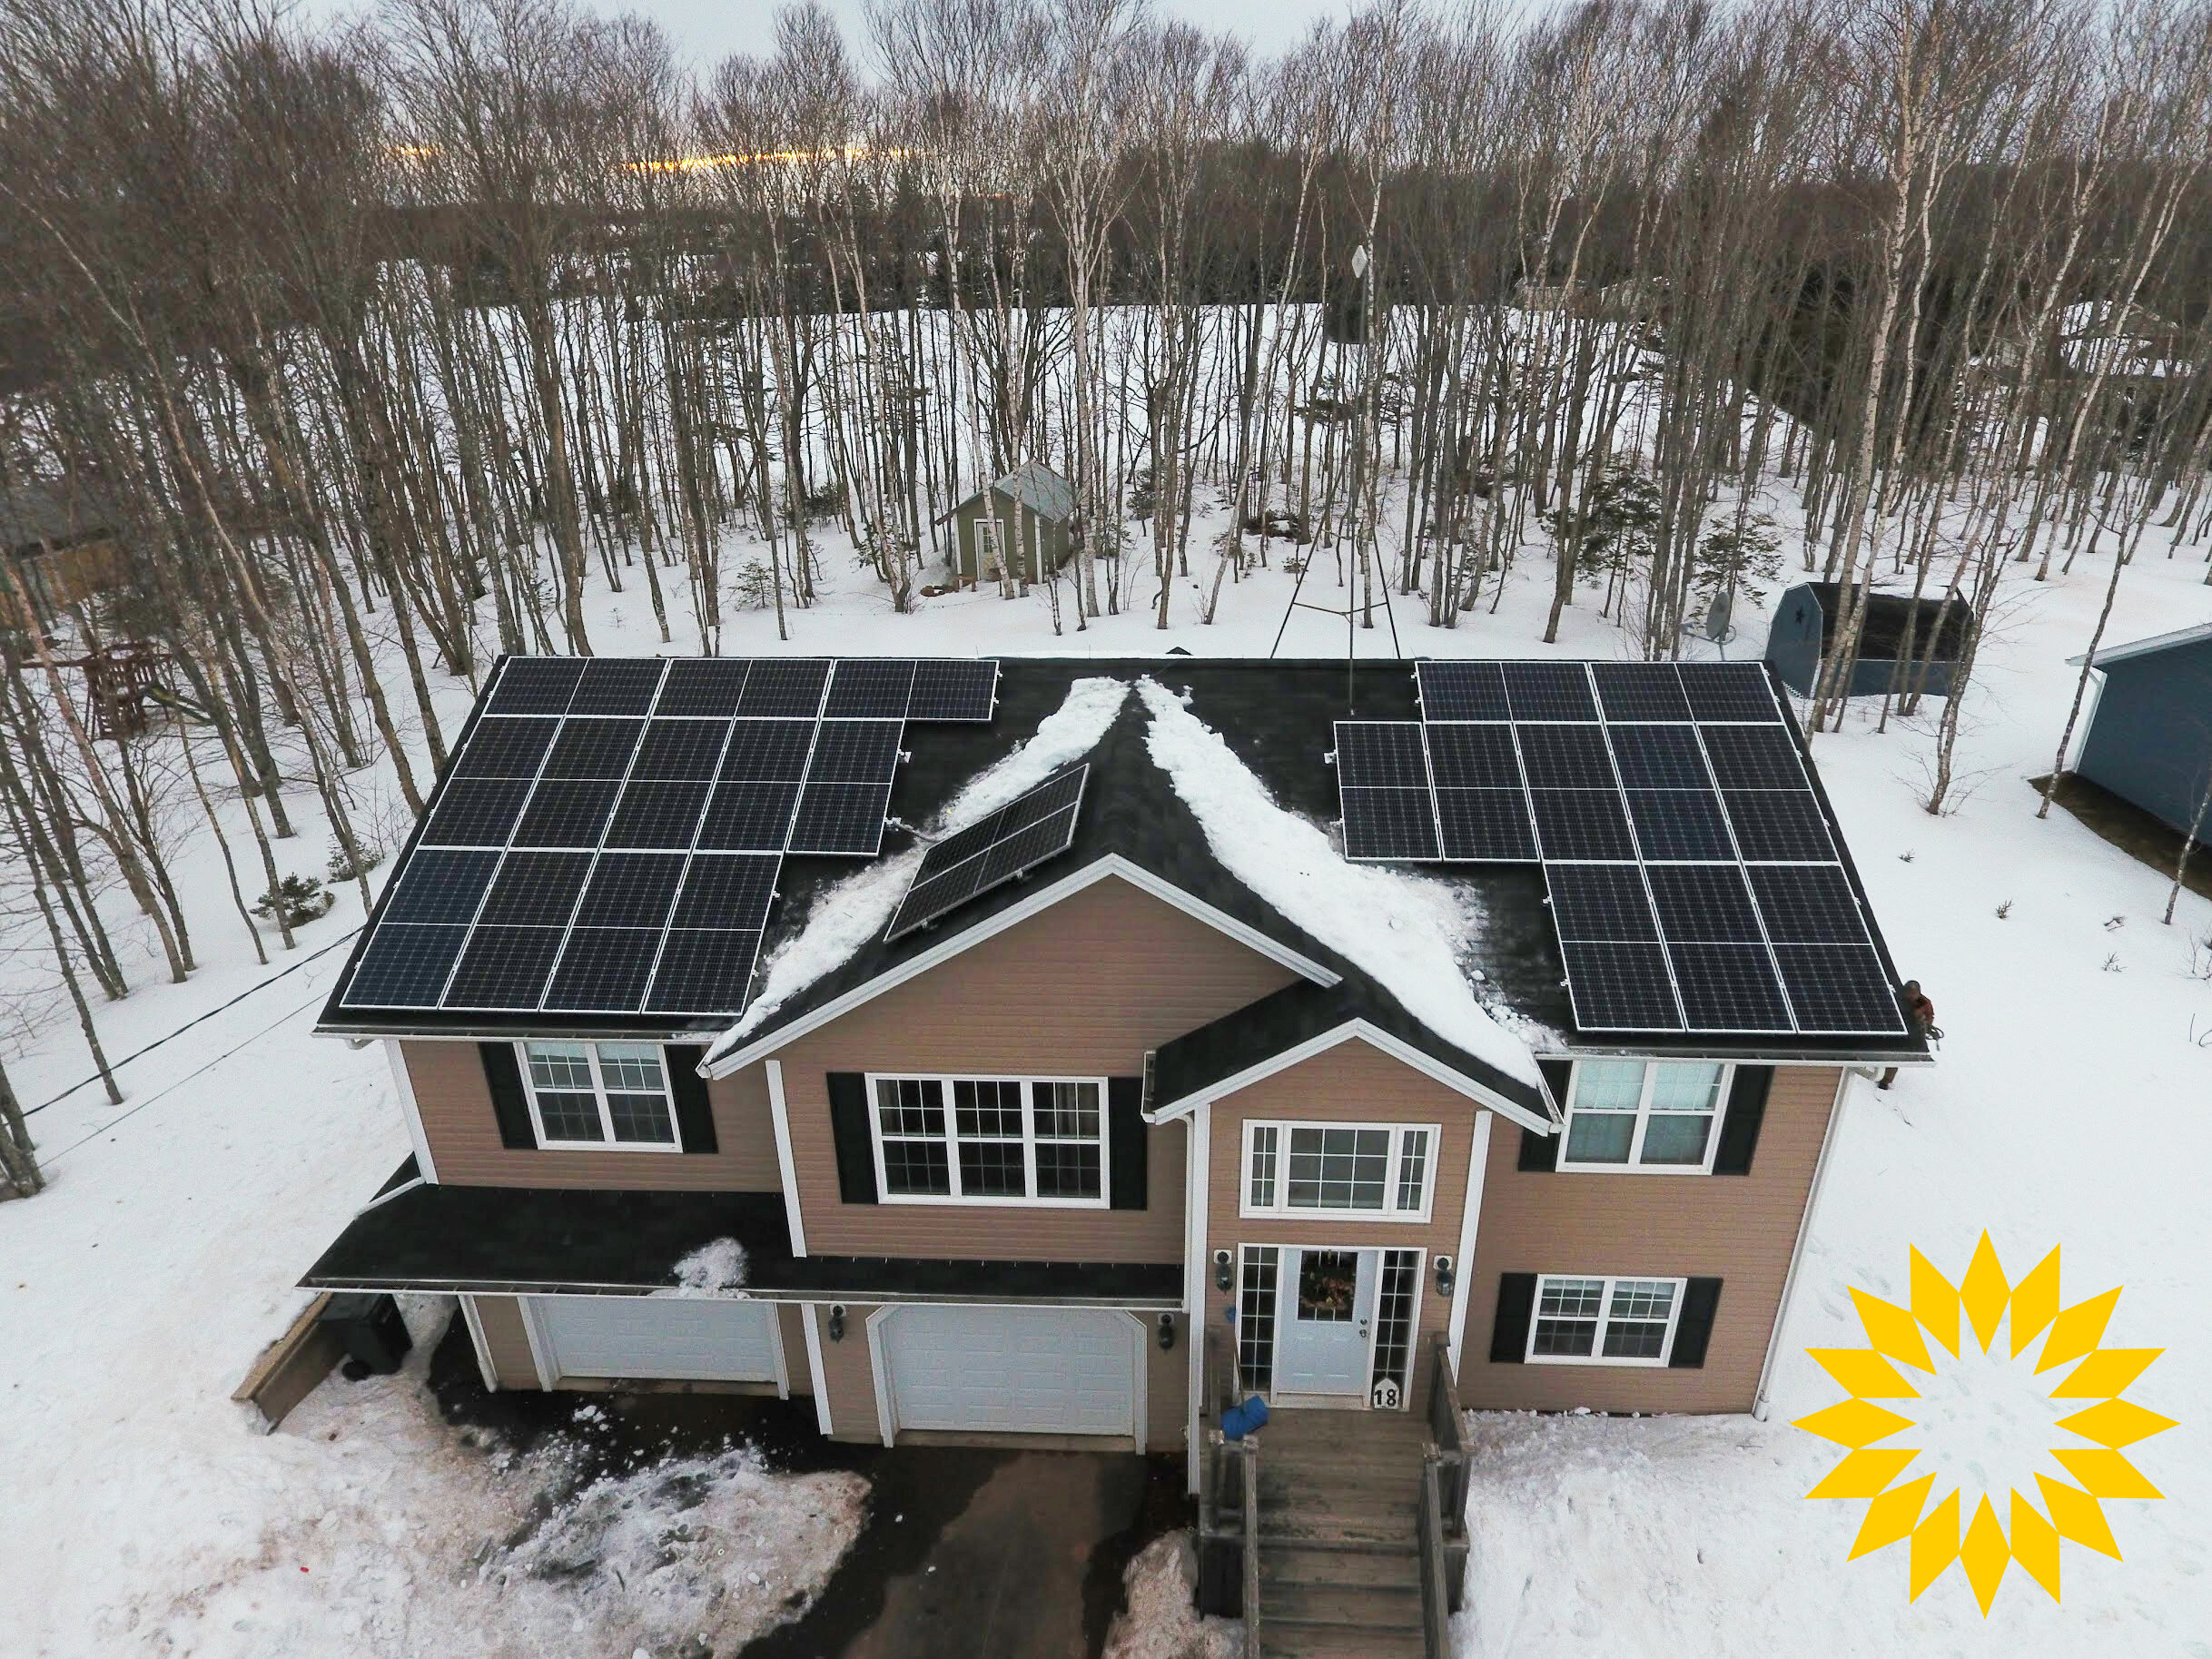
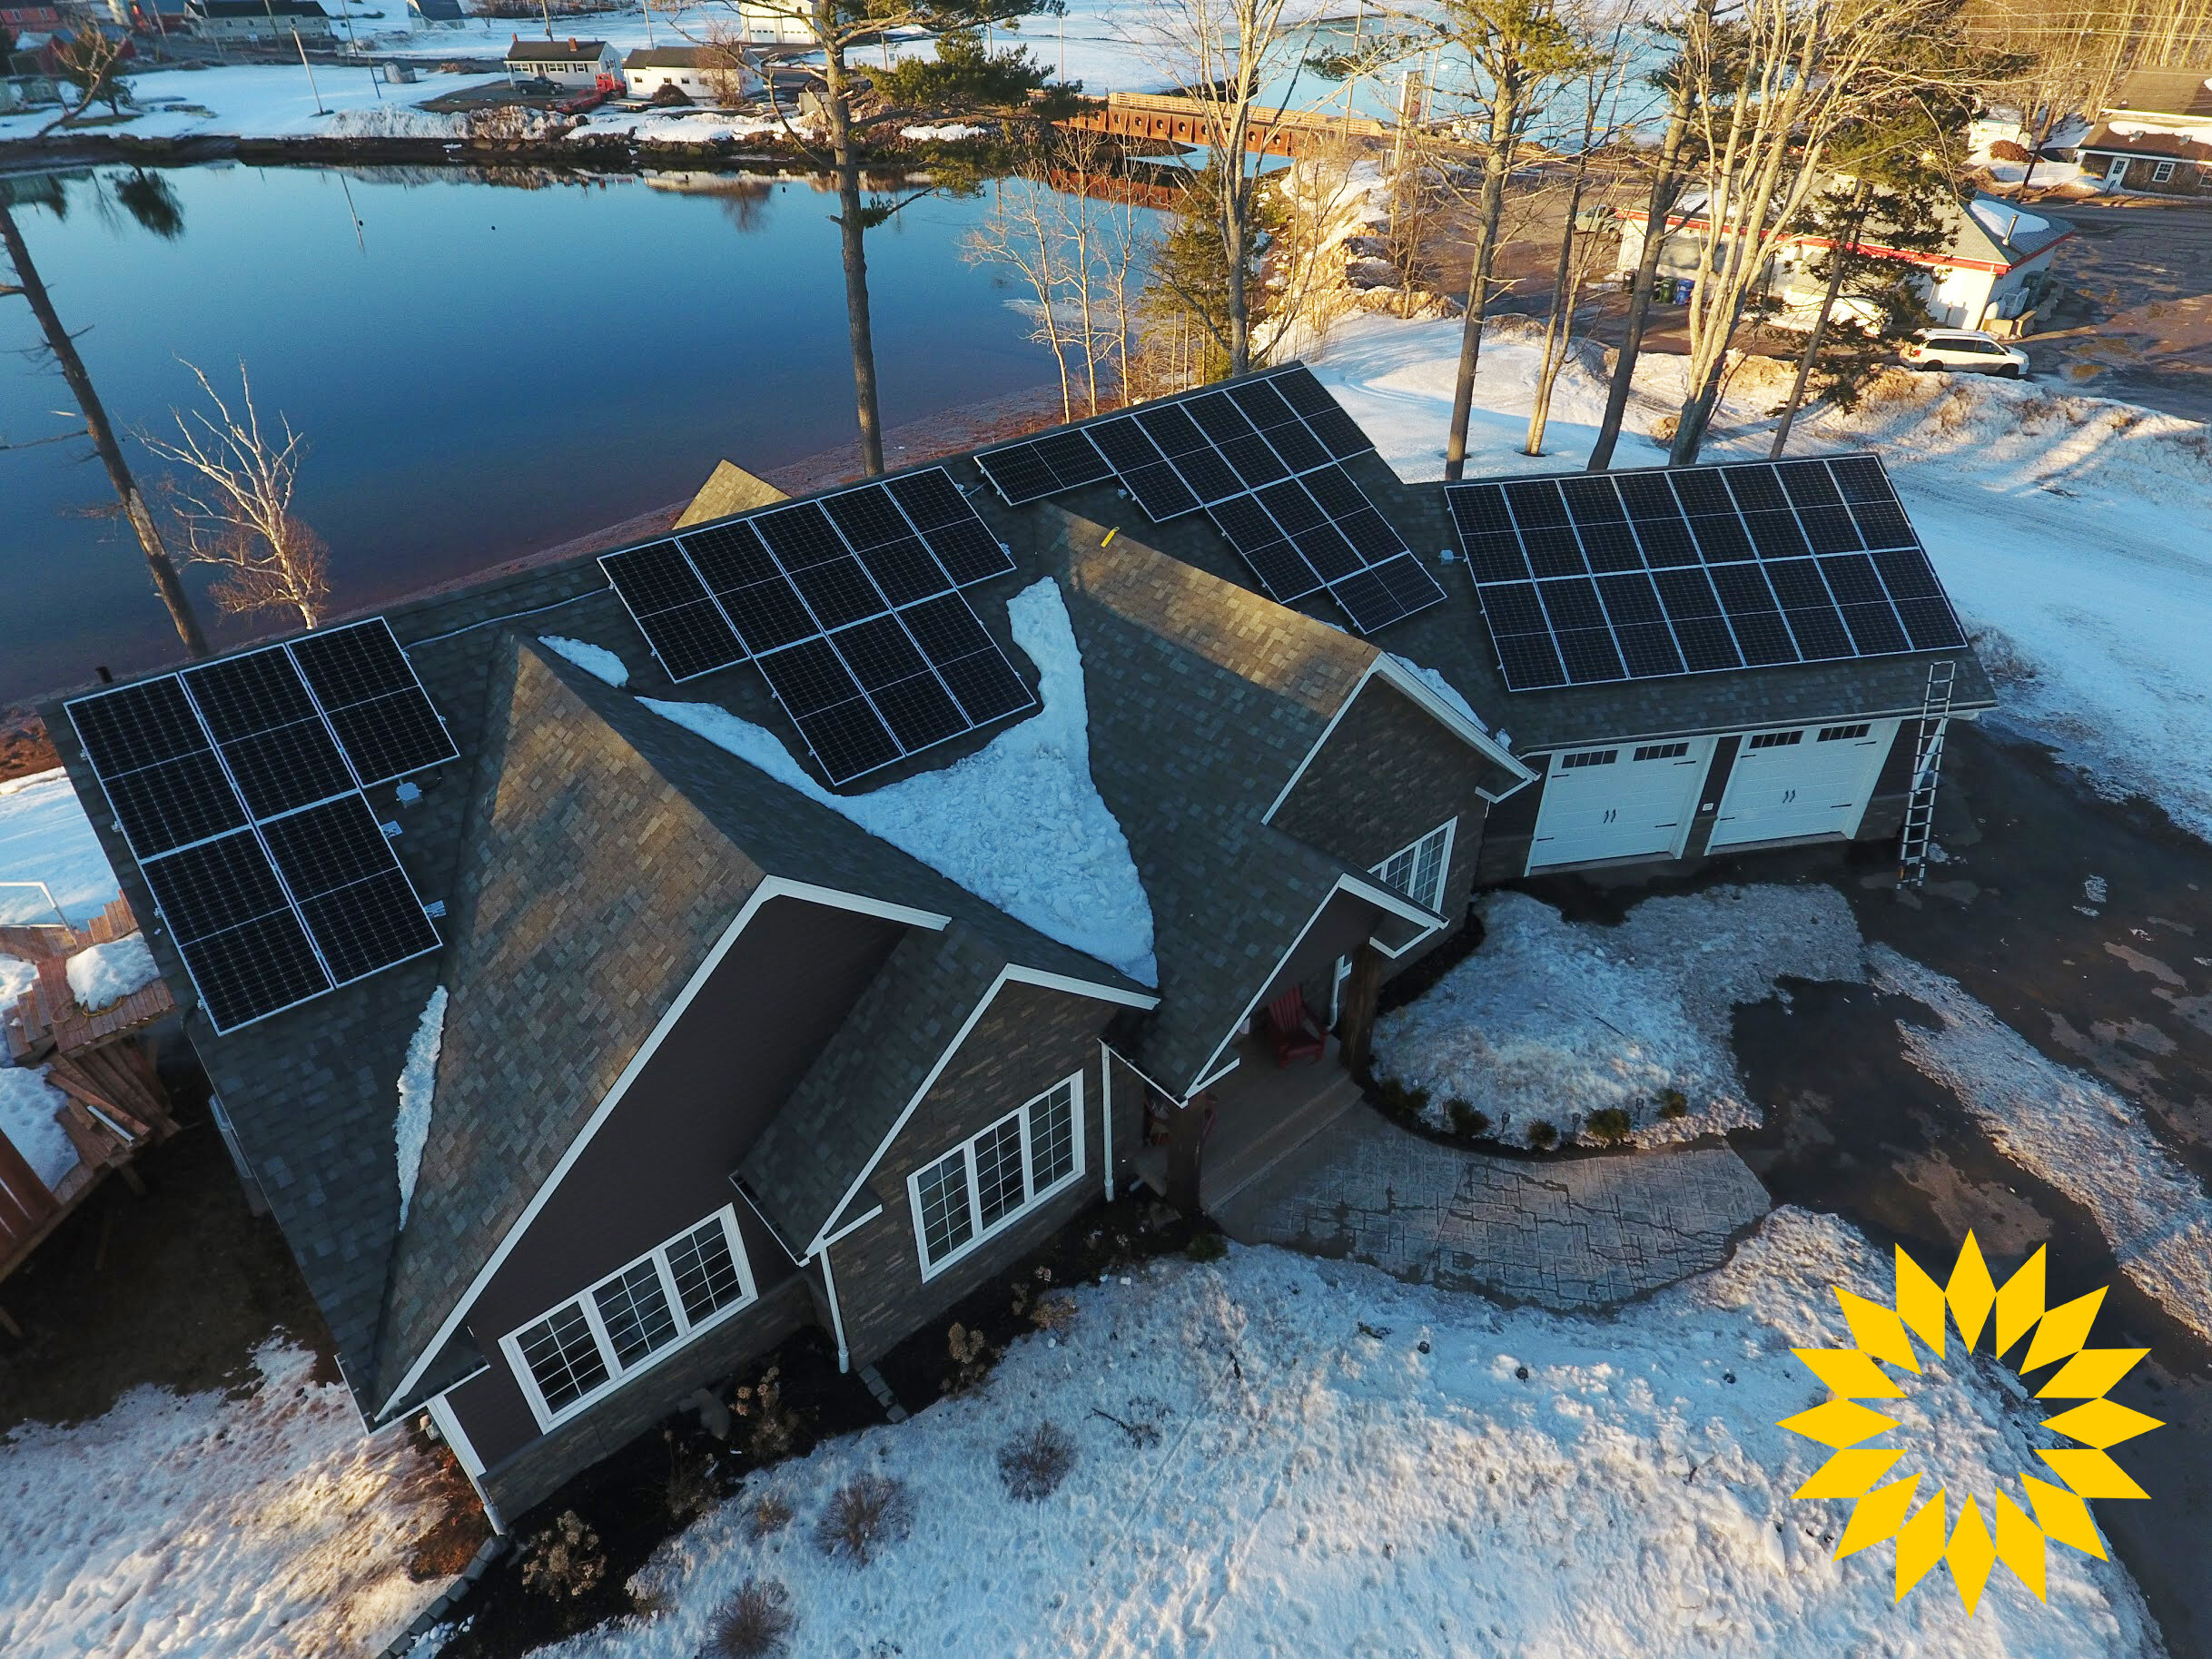
Getting solar panels is a big time commitment. You are likely to have those panels on your roof for the next 20+ years producing solar electricity. The benefits far outweigh the costs when done properly. After paying off the initial investment they can typically save you $1,000’s of dollars a year on electricity costs.
Image Sources: Sunly.ca
Not only do they save you heaps on electricity costs today they can also protect you against any potential increased rates over time. It’s not like electricity rates are decreasing any time soon. When was the last time you saw a discount on your bill?
But here’s the thing, if you don’t install with the appropriate safe guards you can run the risk of having all those savings disappear because you have to make repairs to your house that can cost more than the savings! If the installers take the right steps at installation you can prevent ever having to make these repairs!
One of the first foundational strategies to ensure the best installation is to install FLASHING.
During an installation solar panels need to be installed on a racking system. The racking system requires a solar installer to drill many holes into your roof that enable the racking system to stay in place.
Holes in your roof = potential for leaking
Many installers will take a nice easy approach and caulk the pilot hole and install the racking. This will prevent leakage however there is much more that can be done. In fact Sunly Energy recommends and installs 4 levels of protection.
Level 1 – Caulking on the pilot hole
In order to put a bolt into the roof a pilot hole is required. After we create pilot hole we fill it with outdoor rated caulking. This acts as the first level of protection.
Level 2 – Caulk the flashing
Before we add the flashing onto the roof we place a U-shaped bead of outdoor rated caulking above the butyl mastic. This acts as the second level of protection.
Level 3 – Butyl Mastic Sealant
There is a butyl mastic ring around the flashing opening which is a sealant that will melt onto the roof creating a seal. There is also a rubber gasket for the lag bolt to seal against. This acts as the third level of protection.
Level 4 – Secure the L-Foot and Flashing to the roof
Once all of the sealants have been prepared we slide the flashing into place under the shingle and secure the flashing and L-foot (that the rail attaches to) to the roof using a lag bolt. The lag bolt has a rubber gasket that compresses onto the flashing. This acts as the fourth level of protection.
These multiple redundancies ensure your roof is protected from leaks as optimally as possible. Having the peace of mind when having panels on your roof is very important.
Yes these 4 levels typically do take a little more time and have a bit of extra costs associated with them but with different rebates offered by government programs like efficiency PEI makes a high quality solar installation affordable.
Want to learn more, check out this article at https://sunly.ca/blog/keys-to-protecting-your-investment-flashing

Leave a Reply